
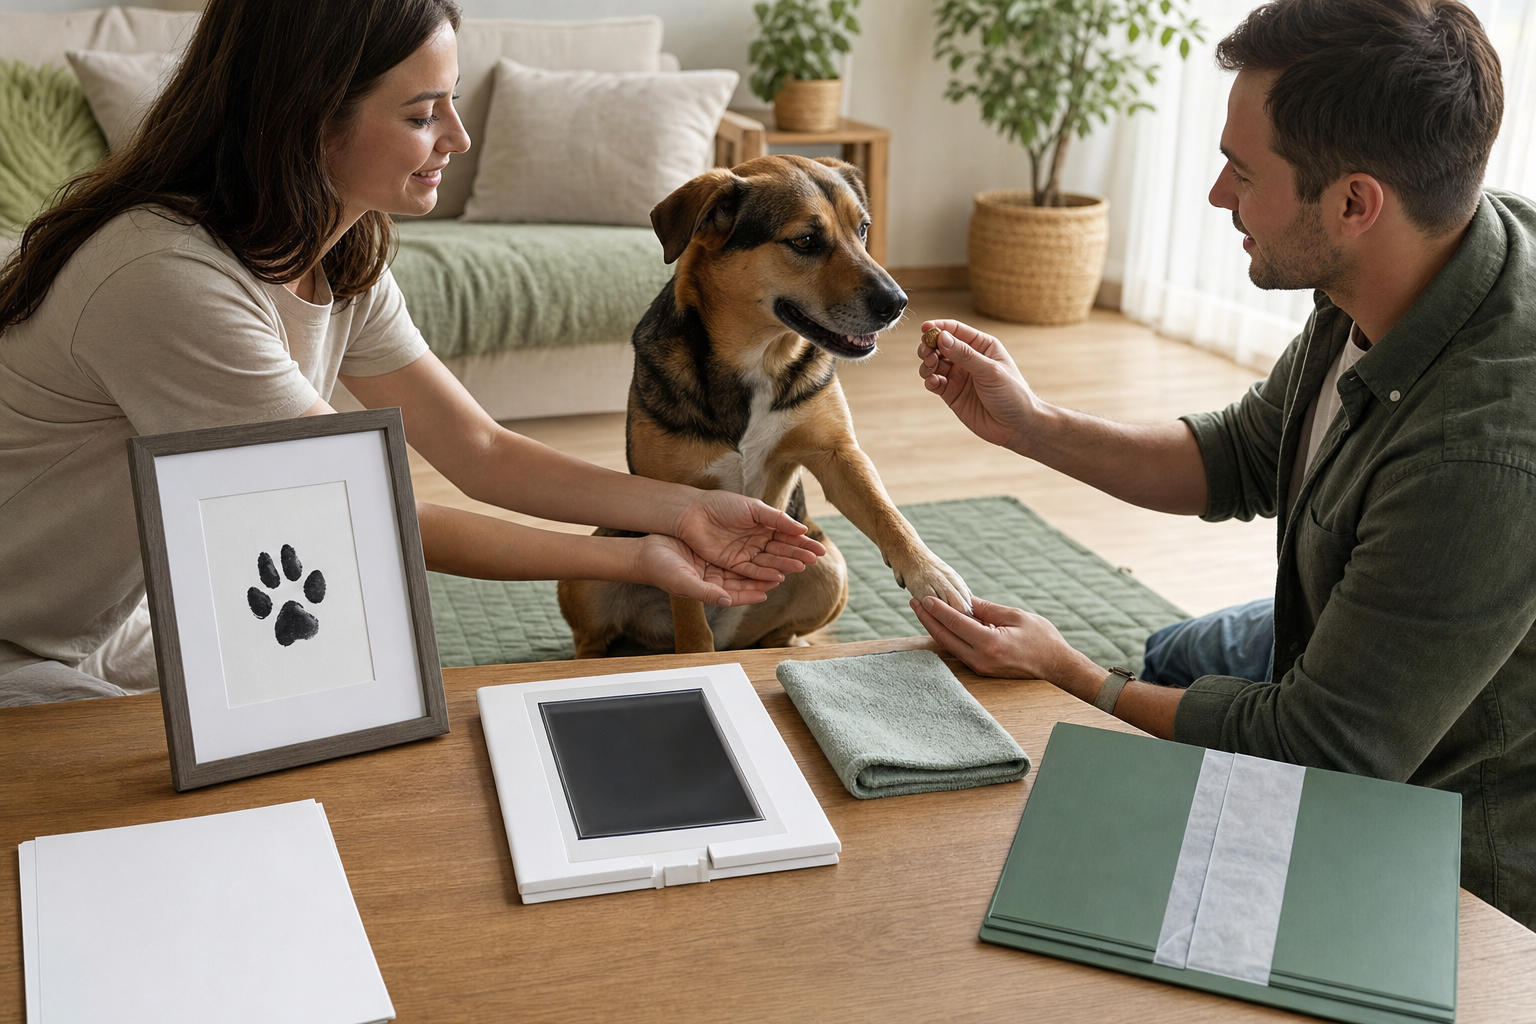
The short answer: a good paw-print keepsake session is short, prepared and voluntary. Read the exact kit instructions first, place paper and supplies within reach, choose a quiet time, reward calm paw handling and stop if your pet pulls away or becomes distressed. Protect the fresh print from touch and dust until the stated drying time has passed.
This guide uses the current Paw Print Pad Kit and Paw Print Pad Kit 2 as examples. “Clean touch” and “inkless” appear in the catalog wording, but this article does not independently claim that ink is non-toxic or suitable for direct skin contact. Follow the product’s current instructions and keep the coated side oriented exactly as shown.
Paw-print session at a glance
| Stage | Prepare | Pause when |
|---|---|---|
| Before | Instructions, clean dry paw, blank cards, rewards | Paw is sore, injured or pet avoids handling |
| Practice | One-second paw touch without the kit | Pet stiffens, hides, growls, swats or struggles |
| Correct pad orientation and one calm press | Setup slips or pet withdraws | |
| Dry | Flat protected location | Print is still tacky or kit says wait longer |
| Display | Acid-free-style mat or album if desired | Print will touch glass or moisture |
1. Verify the kit before involving your pet
Open the live listing and packaging instructions. Confirm what is included, the usable print area, which surface faces the paper and whether the pad has a reuse limit. Do not infer dimensions, chemistry or drying time from a product photo. If packaging is damaged, leaking, dried out or unclear, contact the retailer before use.
Keep the baby Hand and Foot Print Kit separate from the pet workflow. A product sold for one intended user should not automatically be substituted for another. This guide does not establish safety for babies, people or animals beyond the manufacturer’s directions.
2. Choose a calm time and place
Use a familiar room with good light, secure footing and no audience crowding the pet. Avoid starting immediately after exciting play, a stressful outing or an unfamiliar visitor arrives. Place the print surface low enough to reach without lifting or twisting the animal awkwardly.
The ASPCA supports humane, reward-based methods that use the least stress needed to achieve a goal. Fear Free cooperative-care guidance emphasizes voluntary participation and paying attention when an animal signals a need to pause. A keepsake is optional; forcing the paw is never worth escalating fear or risking a bite or scratch.
3. Check and clean the paw gently
Look for debris, redness, swelling, cuts or tenderness. The ASPCA recommends checking paws for wounds and foreign objects. If a paw appears painful or injured, skip the craft and contact a veterinarian as appropriate.
If routine cleaning is needed, use a method already comfortable for the pet and dry fully. The Pet Paw Cleaner is a separate catalog product; verify its current instructions and do not use it on an injured paw or treat it as veterinary care. A damp paw can blur the print or transfer moisture to paper.
4. Rehearse without the print pad
Ask for a familiar paw cue or briefly touch the lower leg, then reward and release. Begin with one second. Repeat only while the body remains relaxed. For cats or pets unused to paw handling, a voluntary station—such as standing on a mat—may be a more realistic first step than lifting a paw.
- Move slowly and keep your grip light.
- Do not pin the body or extend joints beyond a natural position.
- Reward calm participation; do not punish withdrawal.
- Use a helper only when the pet is already comfortable with both people.
- End early after a successful practice rather than pushing for repetition.
5. Make the print in one controlled motion
Lay the card on a firm, flat surface. Position the pad exactly according to its instructions so the paw does not contact a surface that is not intended for direct contact. Stabilize the paper and pad before bringing the pet close.
Guide the paw straight down with gentle, even contact, then lift straight up. Do not rock, smear or repeatedly press when the animal is trying to leave. A partial or imperfect impression still records a real moment. If attempting another card, give the pet a break and follow the stated reuse guidance.
6. Protect the fresh impression
Move the finished card to a flat, clean area beyond the reach of pets and children. Follow the kit’s stated drying time; do not guess based on appearance. Cover the area from falling dust without letting a cover touch the image. Avoid heat, hair dryers or sprays unless the instructions specifically allow them.
Write the pet’s name and date on the reverse only after the print is dry and with a suitable pen. Test decorative pens, adhesives and sealants on a spare print or paper because they can bleed, yellow or react with the image.
7. Scan, store and display
Make a high-resolution scan or evenly lit photograph before framing. Keep the digital file in two places and use a descriptive filename. For the physical print, choose a mat that prevents the image from touching glazing, and keep it away from moisture, intense heat and prolonged direct sunlight.
If long-term preservation matters, consult a professional framer about reversible, conservation-oriented materials. “Acid-free” is a material claim that should be verified on the exact mat, backing and storage sleeve rather than assumed from appearance.
Frequently asked questions
Does clean touch mean ink never touches the paw?
It describes the listed kit format, but only the current instructions can establish correct orientation and use. Never assume either side is safe for direct contact.
What if my pet will not give a paw?
Stop and use a different keepsake, such as a photo. You can build comfort with brief reward-based handling over time, but a craft should not require restraint or distress.
Can I wash a paw before printing?
Use only a familiar, appropriate cleaning method and dry the paw fully. Skip the session if there are wounds, irritation or pain.
How many times can I use the pad?
Check the exact product instructions and listing. Reuse limits can vary, and this guide does not assume a number.
Should I seal the finished print?
Not unless the kit or a qualified preservation professional recommends a compatible product. Sealants can change paper and ink.
Bottom line
Prepare everything before asking for the paw, practice the handling separately, make one gentle press and respect a “no.” Then dry, digitize and display the impression using materials suited to the paper. The calm experience matters more than a perfect outline.